How to Smoke Salmon in a Smoker: Step-by-Step Guide
Picture this: you’ve just invited friends over for a casual gathering. The sun is setting, and the air is filled with a warm, smoky aroma wafting from your backyard. You’ve taken the time to prepare a beautiful piece of salmon, brined and seasoned to perfection, and now it’s gently smoking in your trusty smoker. The anticipation builds as you imagine the delight on your guests’ faces when they taste your homemade smoked salmon.
Smoking salmon is more than just a cooking method; it’s a culinary tradition that connects you with nature and the art of food preparation. It’s a chance to create something extraordinary, turning a simple piece of fish into a gourmet dish that brings people together. In this guide, you’ll learn everything you need to know about how to smoke salmon in a smoker, from preparation to serving, ensuring that you create unforgettable moments around your table.
Table of Contents
Understanding the Basics of Smoking Salmon
What is Smoking?
Smoking is a cooking technique that infuses food with flavor and preserves it through the use of smoke. This process can be done in two main ways: hot smoking and cold smoking.
- Hot Smoking cooks the fish while infusing it with flavor, resulting in a tender and flaky texture.
- Cold Smoking is primarily for flavoring, preserving the fish without cooking it fully.
Benefits of Smoking Salmon
Smoking salmon not only enhances its flavor but also extends its shelf life. Here are some key benefits:
- Flavor Enhancement: The wood smoke adds depth and richness, creating a unique taste.
- Preservation: Smoking can help keep the fish fresh longer by reducing moisture content and inhibiting bacterial growth.
Key Equipment Needed
Before you dive into the process, you’ll need to gather some essential equipment:
- Smoker: Choose from electric, charcoal, or wood smokers based on your preference and available space.
- Thermometer: A reliable thermometer ensures you maintain the right temperature throughout the smoking process.
- Wood Chips: Different types of wood chips impart unique flavors; choose ones that complement salmon well.
- Brining Container: Use a non-reactive container for brining your fish, like glass or food-grade plastic.
Choosing the Right Salmon
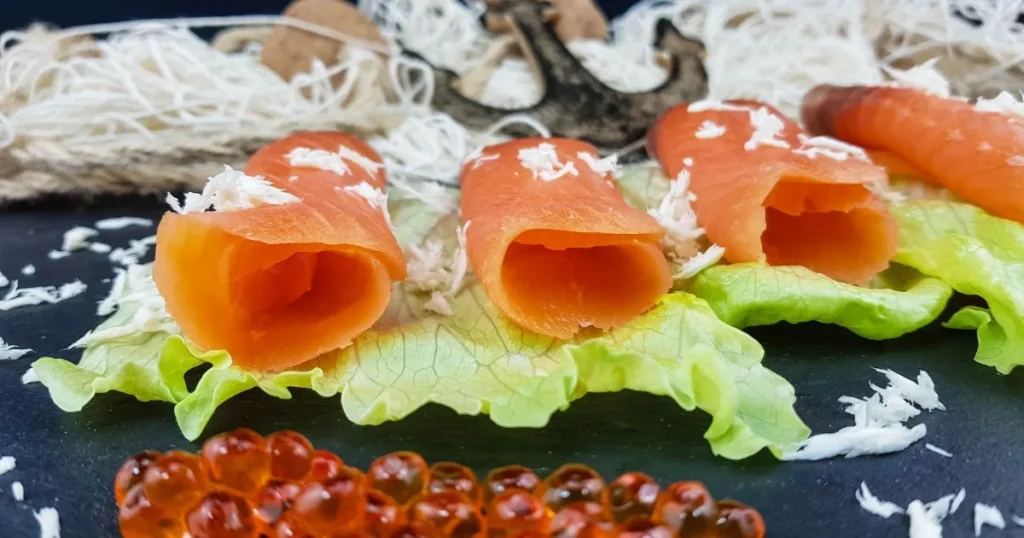
Types of Salmon for Smoking
When it comes to smoking salmon, not all species are created equal. Here are the most popular types:
- Atlantic Salmon: Known for its high fat content, it results in a moist and flavorful smoked product.
- Pacific Salmon: Varieties like King (Chinook) and Sockeye offer distinct flavors and are excellent for smoking.
Sourcing Quality Salmon
To achieve the best results, sourcing high-quality salmon is crucial. Look for:
- Freshness: Choose fish that has bright, clear eyes and firm flesh.
- Sustainability: Opt for wild-caught salmon whenever possible, as it tends to have better flavor and texture compared to farmed options.
Preparing Your Salmon for Smoking
Brining the Salmon
Why Brine?
Brining is a crucial step that helps enhance flavor and moisture retention. It also adds a touch of sweetness that balances the smokiness.
Basic Brine Recipe
Here’s a simple brine recipe you can use:
| Ingredient | Quantity |
|---|---|
| Salt | 1 cup |
| Brown Sugar | 1/2 cup |
| Water | 4 cups |
| Optional Spices | (peppercorns, garlic, dill) |
Brining Process
- Mix the Brine: Combine salt, brown sugar, and any optional spices in a large bowl. Add water and stir until dissolved.
- Submerge the Salmon: Place your salmon fillet in the brine, ensuring it’s fully submerged. Use a weight if necessary.
- Brine Time: Refrigerate for 4 to 8 hours, depending on the thickness of the fillet.
Rinsing and Drying
Rinsing the Brined Salmon
After brining, rinse the salmon under cold water to remove excess salt. This step is crucial for achieving the right flavor balance.
Drying the Salmon
Drying helps form a pellicle—a tacky surface that allows smoke to adhere better. Here’s how to dry your salmon:
- Pat Dry: Use paper towels to gently pat the salmon dry.
- Air Dry: Place the salmon on a rack and let it air dry in a cool, ventilated area for about 1 hour.
Smoking the Salmon

Setting Up Your Smoker
Preparing the Smoker
Depending on the type of smoker you’re using, setup may vary. Here are general steps for different types:
- Electric Smoker: Plug in and set the temperature to 175°F – 200°F.
- Charcoal Smoker: Prepare your charcoal, light it, and wait until the coals are ashy before adding wood chips.
- Wood Smoker: Similar to the charcoal method, start the fire and let it burn down to create a steady heat.
Choosing Wood Chips
Best Wood for Smoking Salmon
Different woods impart distinct flavors. Here are some popular choices:
- Apple Wood: Offers a mild, sweet flavor that complements salmon well.
- Cherry Wood: Provides a fruity and slightly tart taste.
- Hickory: Delivers a stronger, more robust flavor.
Soaking Wood Chips
Soak your wood chips in water for at least 30 minutes before use. This helps them smolder and produce a steady stream of smoke rather than burning quickly.
Smoking Process
Step-by-Step Smoking Instructions
- Prepare the Smoker: Add the soaked wood chips to the smoker box or directly onto the coals.
- Place the Salmon: Lay the salmon skin-side down on the smoker rack.
- Monitor the Temperature: Keep the smoker’s temperature steady between 175°F – 200°F. Use a thermometer to ensure accuracy.
- Smoking Time: Generally, it takes about 1 to 3 hours to smoke salmon, depending on the thickness.
Timing Guidelines
The thickness of your salmon fillet directly affects smoking time:
- Thin Fillets (1 inch or less): Approximately 1 hour.
- Thicker Fillets (1 to 2 inches): Up to 3 hours.
Serving and Storing Smoked Salmon
Serving Suggestions
Once your salmon is smoked to perfection, consider these serving options:
- Bagels and Cream Cheese: A classic combination for brunch.
- Salads: Flake the smoked salmon over mixed greens for a refreshing meal.
- Cheese Platter: Pair with various cheeses for a delightful appetizer.
Storage Tips
To ensure your smoked salmon stays fresh:
- Refrigeration: Store it in an airtight container in the fridge for up to 2 weeks.
- Freezing: Wrap tightly in plastic wrap and foil, then freeze for up to 3 months. Thaw in the refrigerator before serving.
Common Mistakes to Avoid When Smoking Salmon
Smoking salmon can be a rewarding experience, but avoiding common pitfalls will help you achieve the best results:
- Over-smoking: Keep an eye on the smoking time; too much smoke can lead to bitterness.
- Not Using a Thermometer: Always monitor the temperature for consistent results.
- Skipping the Brining Process: Brining is essential for flavor and moisture; don’t skip it!
FAQs about Smoking Salmon
- What is the best temperature for smoking salmon?
- The ideal temperature is between 175°F and 200°F to ensure proper cooking and flavor infusion.
- How long does it take to smoke salmon?
- Smoking time varies with thickness; thin fillets take about 1 hour, while thicker ones can take up to 3 hours.
- Can I smoke frozen salmon?
- It’s best to thaw salmon before smoking. Thaw in the refrigerator for optimal texture.
- What wood is best for smoking salmon?
- Apple and cherry woods are popular for their mild, sweet flavors, while hickory adds a stronger taste.
Conclusion: Enjoy the Fruits of Your Labor
Smoking salmon is not just a cooking technique; it’s an opportunity to connect with family and friends over a shared meal. With the right tools, techniques, and a touch of patience, you can create a gourmet dish that impresses everyone at your table. Now that you’re equipped with this step-by-step guide, it’s time to gather your ingredients, fire up your smoker, and embark on your delicious journey of smoking salmon.
So, what are you waiting for? Get out there and start smoking your own salmon today! Share your results, variations, and any tips you discover along the way—your culinary adventure is just beginning!


