Ninja Creami: Your Ultimate Guide to Making Creami Vanilla Ice Cream at Home
A Personal Journey into Homemade Ice Cream
Picture this: a warm summer evening, the sky painted in shades of pink and orange, laughter ringing in the air, and the aroma of fresh vanilla enticing your senses. The perfect companion to this moment? A bowl of rich, creamy vanilla ice cream. But not just any ice cream—this is the kind you crafted yourself using the Ninja Creami. If you’ve ever craved that perfect scoop, you’re in the right place. Let’s embark on a delightful journey of making homemade creaminess that will impress your family and friends.
Table of Contents
What is the Ninja Creami?
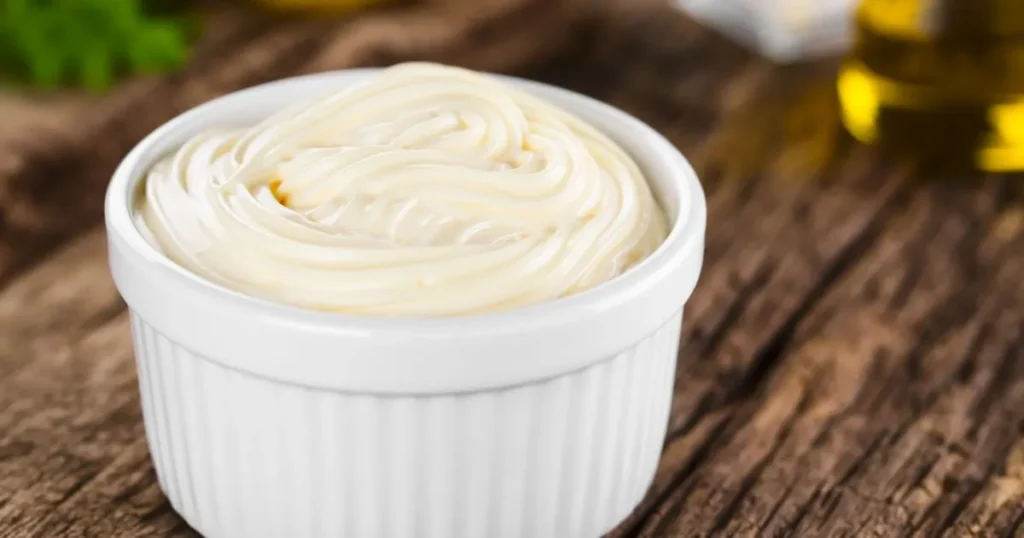
The Ninja Creami is not just another kitchen gadget; it’s a revolutionary appliance designed to simplify your ice cream-making experience. Here’s what makes it stand out:
- Versatility: The Ninja Creami can create not only ice cream but also sorbet, gelato, and even smoothie bowls, making it a versatile addition to your kitchen.
- Ease of Use: With straightforward controls, you can transform your frozen mixtures into creamy desserts with just the push of a button.
- Consistent Results: Thanks to its innovative processing technology, you’ll enjoy perfectly creamy ice cream every time.
If you’re serious about ice cream, the Ninja Creami is a game changer. It combines fun, functionality, and flavor into one compact device.
Ingredients for Creami Vanilla Ice Cream
Before diving into the steps, let’s gather what you need. Here’s a simple table outlining the ingredients for your Creami vanilla ice cream:
| Ingredient | Amount |
|---|---|
| Heavy cream | 2 cups |
| Whole milk | 1 cup |
| Granulated sugar | 3/4 cup |
| Vanilla extract | 2 teaspoons |
| Salt | A pinch |
Quality Matters
Using high-quality ingredients will elevate your ice cream from good to unforgettable. Opt for fresh, organic heavy cream and pure vanilla extract if possible. These little details will enhance the flavor and make a noticeable difference in the final product. If you’re looking for alternatives, consider lactose-free heavy cream or plant-based milk for a vegan version.
Step-by-Step Guide to Making Creami Vanilla Ice Cream

Making vanilla ice cream with the Ninja Creami is simple and rewarding. Follow these steps for creamy perfection.
Step 1: Prepare the Ice Cream Base
Start by making your ice cream base. Here’s how to do it:
- Combine Ingredients: In a large mixing bowl, whisk together the heavy cream, whole milk, granulated sugar, vanilla extract, and salt. Make sure the sugar is fully dissolved for a smooth texture.
- Taste Test: This is your chance to adjust sweetness. Feel free to add more sugar or vanilla according to your taste.
Step 2: Freeze the Mixture
Once your base is ready, it’s time to freeze:
- Pour into Container: Transfer the mixture into the Ninja Creami pint container. Make sure it’s sealed properly.
- Freeze: Place the container in the freezer for at least 24 hours. This allows the mixture to solidify completely, which is essential for the next step.
Step 3: Process the Ice Cream in the Ninja Creami
After waiting (patiently!), it’s time for the magic:
- Prepare the Container: Remove the pint from the freezer and let it sit at room temperature for about 10 minutes. This slight thaw will make processing easier.
- Process: Place the pint into the Ninja Creami base. Select the “Ice Cream” function. The machine will churn and process the mixture, transforming it into a creamy delight.
Tips for Perfecting Your Creami Vanilla Ice Cream
Creating ice cream is an art, and like any art form, practice makes perfect. Here are some tips to elevate your homemade vanilla ice cream:
- Experiment with Mix-Ins: Chocolate chips, crushed cookies, or fresh fruits can add texture and flavor. Stir them in after processing for a delightful surprise.
- Adjust Sweetness: Everyone has a different preference. Taste your base before freezing and tweak the sweetness to your liking.
- Storage Tips: If you have leftovers (which is unlikely!), store your ice cream in an airtight container. For the best texture, allow it to sit at room temperature for a few minutes before scooping.
- Chill Your Equipment: For an even creamier texture, chill the Ninja Creami pint container in the freezer for a few hours before adding your mixture. This helps maintain a low temperature during the churning process.
- Blend for Extra Creaminess: Before pouring your mixture into the pint container, consider blending it for a minute or two. This incorporates air, resulting in a lighter, fluffier ice cream.
- Don’t Overprocess: Keep an eye on the Ninja Creami while it processes. If you overdo it, the ice cream can become too soft. If it looks too soft after one cycle, try re-processing in short increments.
- Use a Flavor Base: To elevate the flavor, steep your heavy cream with ingredients like fresh vanilla beans or other spices (like cardamom) for about an hour before mixing in the remaining ingredients.
- Infuse with Other Flavors: Experiment by adding extracts like almond or coconut for a twist on classic vanilla. Just be careful not to overpower the vanilla base.
- Monitor Freezing Time: If your ice cream isn’t achieving the desired consistency, it may need longer in the freezer before processing. Ensure it’s completely solidified for the best results.
- Add a Pinch of Cornstarch: For an ultra-creamy texture, consider adding a small amount (about a tablespoon) of cornstarch to your mixture. This helps stabilize the ice cream and prevents ice crystals from forming.
- Consider Alcohol: Adding a splash of alcohol (like vodka or rum) can lower the freezing point and keep your ice cream softer and easier to scoop without affecting the flavor.
- Store in Smaller Portions: If you make a large batch, consider storing it in smaller containers. This helps maintain freshness and makes it easier to defrost the amount you want to enjoy.
- Personalize with Toppings: Enhance the experience by serving your ice cream with homemade toppings like chocolate sauce, caramel, or fruit compote.
Common Questions about Making Ice Cream with the Ninja Creami
FAQ Section
- What makes the Ninja Creami different from other ice cream makers?
- The Ninja Creami’s innovative processing technology ensures a smoother texture and quicker results than traditional ice cream makers. Plus, its versatility allows you to create a variety of frozen treats with ease.
- Can I make other flavors of ice cream with the Ninja Creami?
- Absolutely! The Ninja Creami is perfect for experimenting. Try adding fruit purees, chocolate, or even spices like cinnamon for unique flavor combinations.
- How long does the ice cream stay fresh?
- When stored properly in an airtight container, your homemade ice cream can last for up to two weeks in the freezer. However, it’s best enjoyed fresh!
Conclusion: Enjoying Your Homemade Vanilla Ice Cream
Now that you’ve mastered the art of making cream vanilla ice cream with the Ninja Creami, it’s time to enjoy the fruits of your labor. Scoop out that creamy delight, serve it in bowls, and watch as your friends and family savor each bite. Homemade ice cream isn’t just a treat; it’s a way to create memories, share joy, and enjoy the simple pleasures of life.
Call to Action
Why stop here? Share your homemade ice cream creations with us! Tag us on social media or leave a comment below about your experience with the Ninja Creami. Have a favorite mix-in or a unique flavor idea? We’d love to hear from you! Embrace your creativity, and let’s keep the ice cream-making magic going!


